Start with a safe daytime inspection
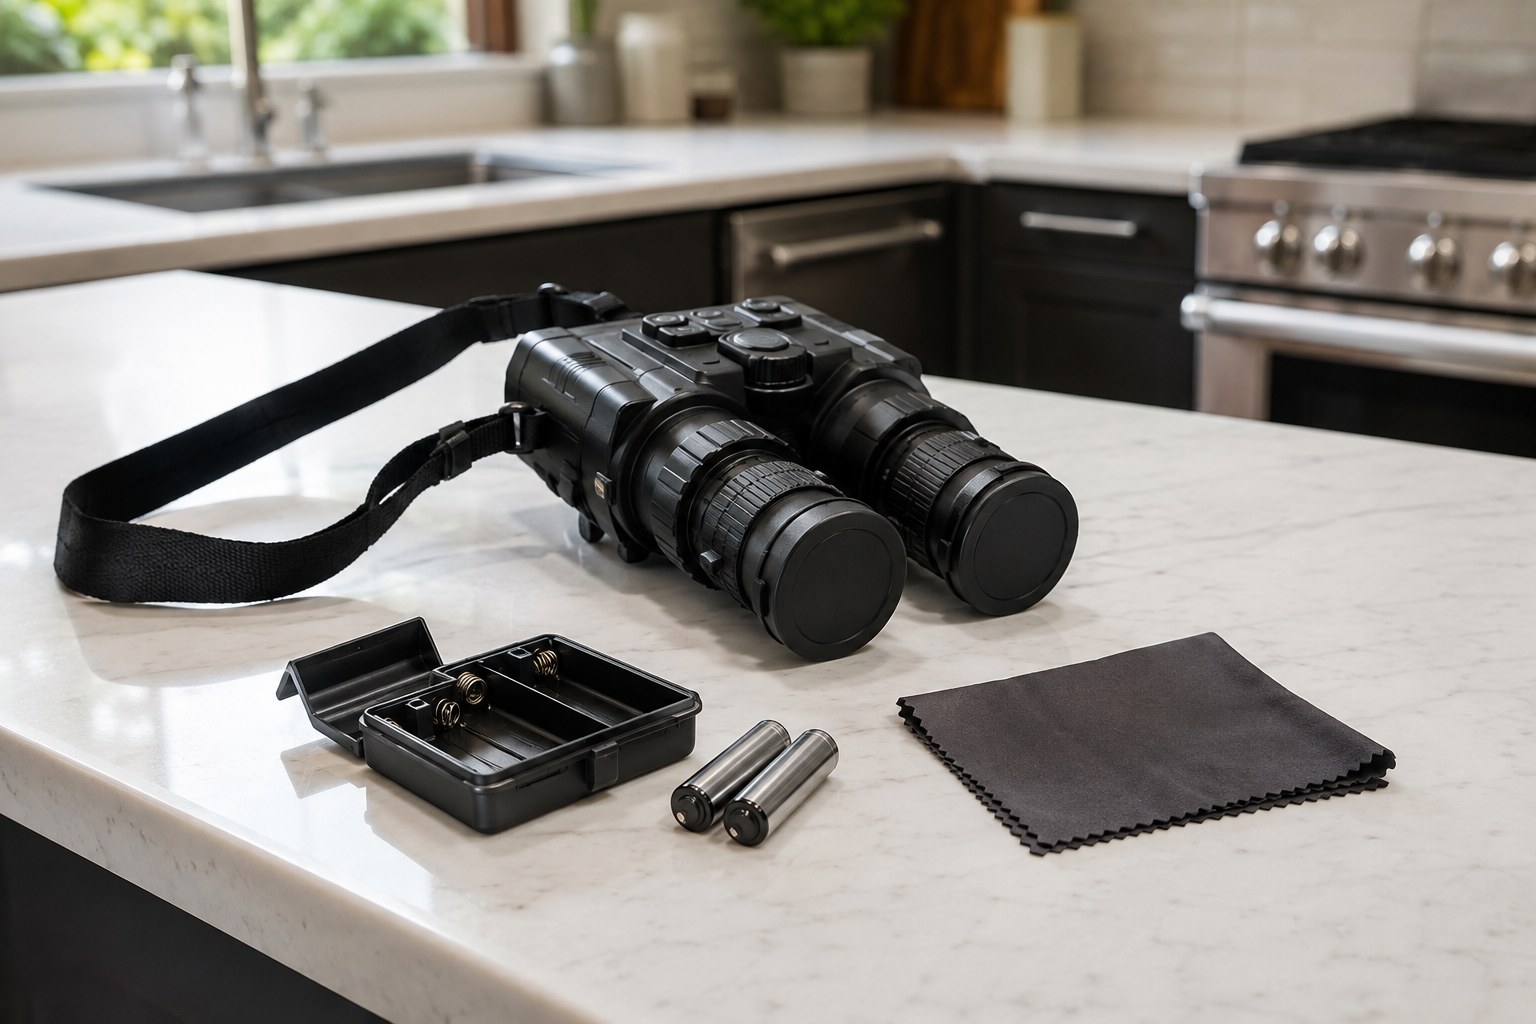
A field test begins before sunset. Set the binoculars on a clean table and inspect the housing, objective lenses, eyepieces, battery compartment and control markings. Look for cracked covers, loose rings, damaged seals or a compartment door that does not close firmly. A small defect is easier to address at home than beside a trail or observation point.
Read the operating instructions before switching the unit on. Night vision equipment is not all built the same way. Some digital models are designed to operate in daylight, while image-intensifier devices may be damaged by bright scenes or direct light. Use a lens cap or another approved daylight procedure when the instructions call for one, and never point an intensifier tube at the sun, vehicle headlights, a torch, a spotlight or another bright source. A quick inspection should not become an exposure test.
Check whether the controls move positively without excessive force. Identify the power switch, gain or brightness control if fitted, focus controls, infrared illuminator control, diopter adjustments and any display or recording functions. Knowing what each control does while the surroundings are still bright reduces fumbling later.
Fit the binoculars to the observer
Optical comfort is part of performance. Adjust the interpupillary distance so the two circular images merge into one without effort. If the spacing is wrong, the view may appear doubled, narrow or tiring even when the optics are functioning correctly.
Next, set the eyepieces for the observer's eyes. With both eyes open, cover one objective or follow the method in the manual, then focus the uncovered channel on a distant, low-contrast object. Adjust the diopter for the other eye rather than repeatedly turning the main focus. Remove glasses only if the eyecups and the observer's prescription make that appropriate; do not assume every user will see comfortably in the same setup.
Test the adjustment range slowly. Focus should change smoothly, without a sudden jump or a ring that slips when released. Pay attention to eye strain, blackouts around the image and the need to press the binoculars too tightly against the face. These problems often become more noticeable during a long observation than during a brief glance.
Check batteries and controls under realistic conditions
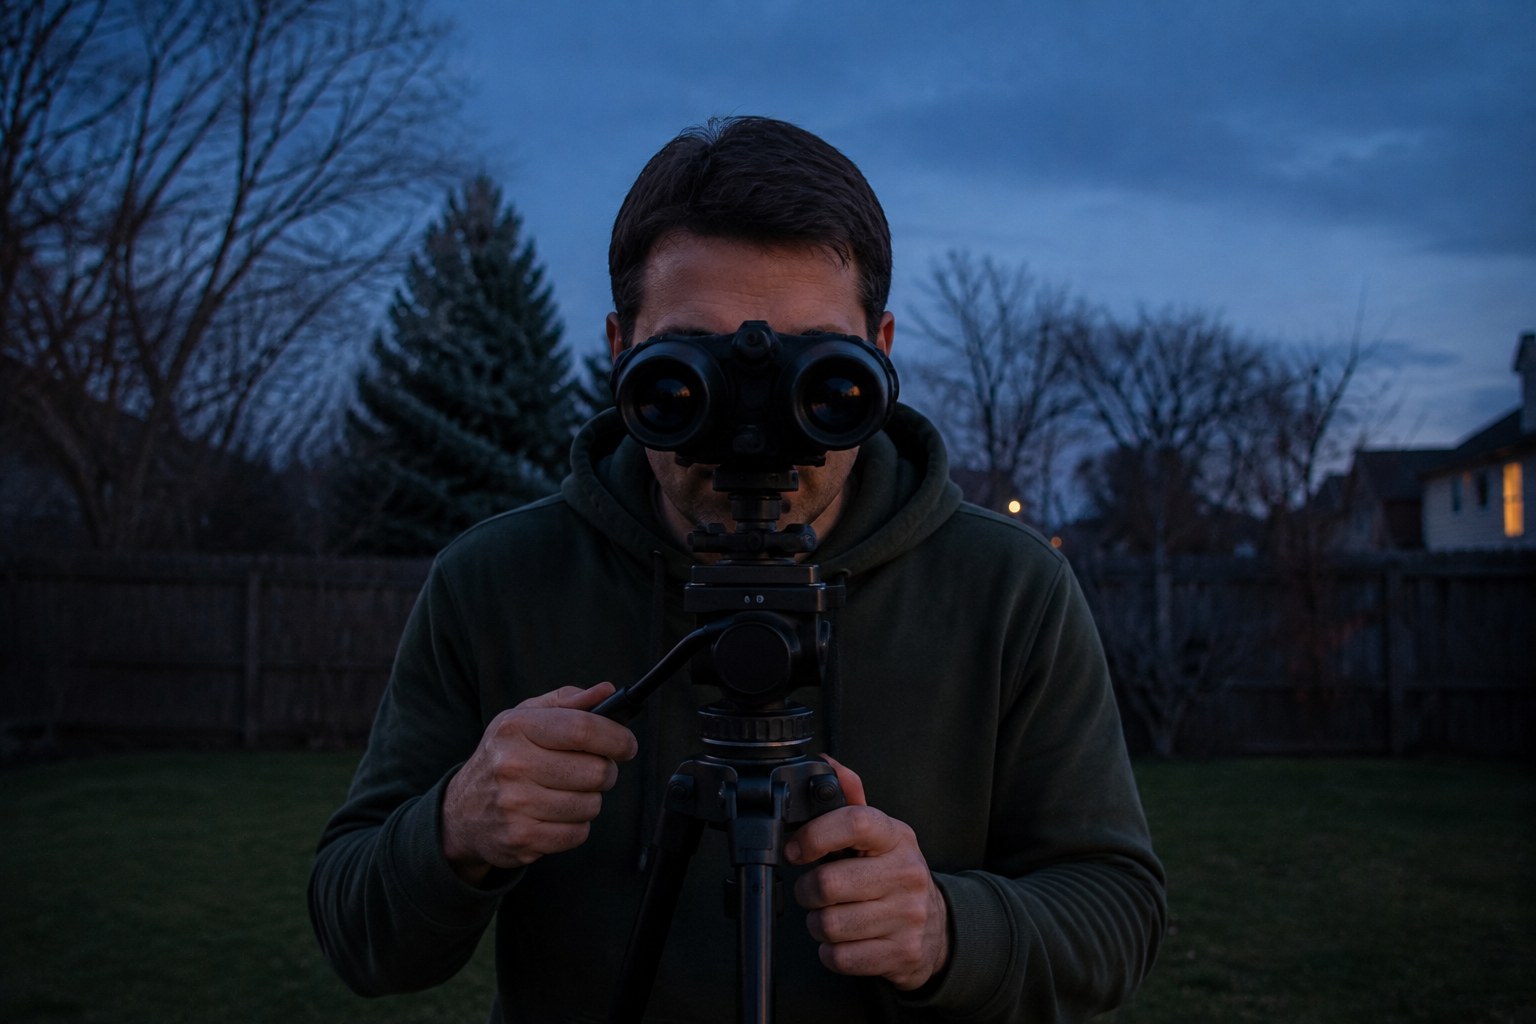
Install fresh batteries of the type specified by the manufacturer, checking polarity and the condition of the contacts. If rechargeable cells are approved, charge them fully and carry a compatible spare set or power source where practical. Do not mix old and new cells, or different battery types, unless the instructions specifically allow it.
Turn the unit on and off several times. Confirm that the power indicator, low-battery warning and automatic shutoff behave as expected. Operate the controls with the gloves, sleeves or hand position likely to be used outdoors. A button that is easy to find on a desk may be hard to distinguish in darkness.
Leave the binoculars running for a reasonable part of the planned observation period in a safe setting, while following the operating limits in the manual. Watch for unexpected flicker, resets, excessive heat, a loose battery door or controls that become difficult to use. Battery life depends on temperature, display brightness, recording, zoom and infrared use, so a short indoor check cannot establish a universal runtime. It can, however, expose a faulty contact or a confusing setting.
Set focus without chasing the image
At dusk, begin with a stationary object at a known distance and use the normal focus control to obtain the clearest view. Then check a nearer object and return to the first one. This reveals whether the mechanism holds its setting and helps the observer understand how much adjustment is needed as the viewing distance changes.
Night scenes can look sharp while still lacking useful detail. Compare edges, branches, fence posts or textured surfaces rather than judging the view by brightness alone. Look for a broad area of softness, uneven focus between the two sides, persistent spots or an image that changes markedly when the binoculars are moved. Some marks may be dust on an external surface; others may be part of the display or optical system. Clean only as directed, using suitable lens-care materials, and do not open the housing.
Test the binoculars from a stable position, then while standing naturally. Excessive shake can make an acceptable image seem poor. If the model has electronic zoom or image enhancement, evaluate the unmodified view first. Added magnification may enlarge blur, noise and movement rather than reveal new detail.
Understand the infrared illuminator
An infrared illuminator can make a dark scene more visible, but it is not a substitute for good focus or sound observation practice. Confirm whether the unit has a built-in illuminator, an adjustable beam or a separate accessory, and learn its control before leaving home. The manual should state whether its use is appropriate for the device and how it affects battery consumption.
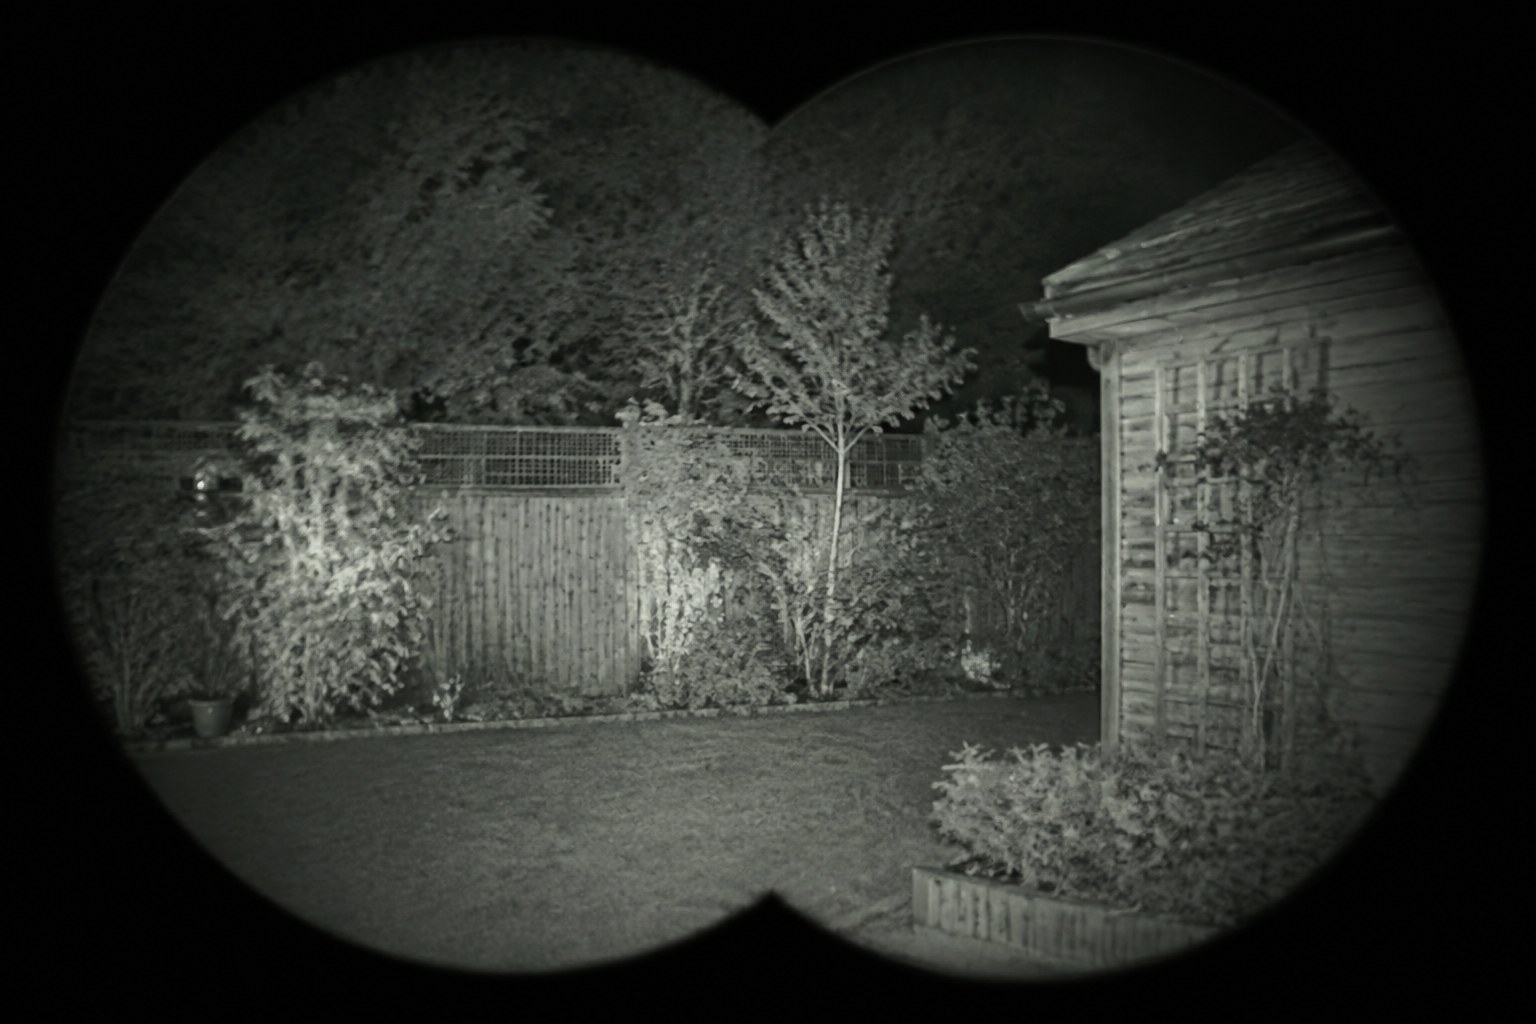
Test it only in a place where its use is permitted and considerate of others. Point it at a harmless, unoccupied area, never toward people, vehicles or windows. Some observers may not see infrared light, but that does not make an unexpected beam acceptable. Keep illumination modest and avoid assuming that a brighter view is a more accurate one. Reflections from pale surfaces, mist, rain or nearby branches can create glare and obscure the larger scene.
Do not use an illuminator to look into bright lights, and do not use the binoculars to inspect headlights, lamps or other intense sources. If a bright source enters the field unexpectedly, lower the device or turn away rather than trying to study it.
Secure the binoculars and prepare for weather
Attach the neck strap or harness according to the instructions and check every connection with gentle pressure. Adjust it so the binoculars rest securely without pulling on the neck or restricting movement. If a case, tether or lens-cap retainer is supplied, make sure each part can be handled without dropping the instrument.
Review the stated weather limitations. Water resistance is not the same as waterproofing, and a sealed housing can still be vulnerable when a compartment is left open or a port cover is not seated. Test the fit of rain covers, caps and protective pouches at home. Keep a soft, clean cloth available for condensation and light moisture; rubbing grit across a lens can do more harm than the weather itself.
When moving between a warm vehicle and cold air, allow the binoculars time to acclimate in a closed case or bag. Sudden temperature changes can produce condensation on the outside and, in some circumstances, inside the equipment. If moisture appears internally, stop using the unit and follow the manufacturer's drying guidance rather than applying heat.
Interpret scenes before relying on them
Finish the evening check by viewing ordinary scenes: open ground, tree lines, paths and fixed landmarks. Compare what the binoculars show with what can be safely confirmed without them. Note where shadows merge, where glare reduces contrast and how easily a moving animal can be distinguished from swaying vegetation. Night vision can improve visibility while still leaving distance, color, texture and identity uncertain.
For responsible observation, keep a safe distance from wildlife, homes, roads and other people. Do not use the device to intrude on private spaces. If a scene is ambiguous, treat it as ambiguous and change position or wait for better conditions rather than guessing. Equipment that feels comfortable, operates predictably and leaves room for cautious judgment is better prepared for a field trip than equipment selected only for the brightest image.